
Connect Your Refrigerator With These DIY Tips
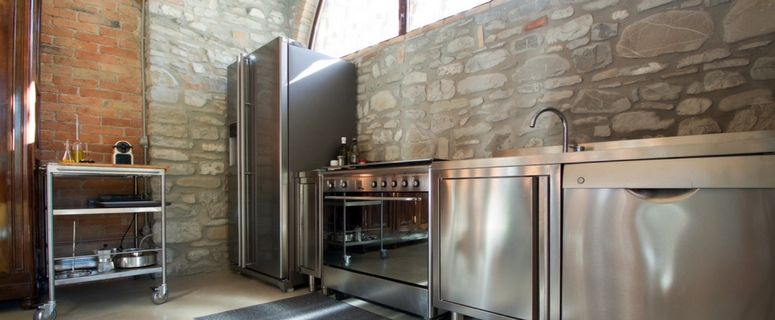
Kitchen plumbing can seem confusing to the average homeowner, but you’d be surprised at how much you can accomplish with a little elbow grease and an easy-to-follow list of instructions. This is particularly true if you have a refrigerator that needs a hookup.
Believe it or not, connecting your fridge is not that hard to do, as kitchen plumbing goes. Follow our step-by-step guide, and you’ll be surprised at how quickly and easily you can get this job done.
Connecting the Water Dispenser
 Don’t wrestle with water jugs and filters that you need to replace. Instead, get your fridge’s water dispenser going. To start, find the supply line from the sink. You will probably find two lines.
The cold water line, which is the one you need, is usually on the right-hand side. If you’ve got a basement, it might be easier to tap the cold water pipe down there, but that will involve you drilling a hole in the floor and feeding the tubing through.
If you are working with the line below your sink, drill holes through your cabinetry through which you’ll be able to pass the tubing. Pick a spot on the pipe to install the valve. Drill a hole through the pipe, but don’t go so far that you come out the other side. Attach the saddle valve over the pipe and fasten it well.
You will have received tubing with your installation kit. Without installing it yet to the fridge, put it in place and wind it through to the supply line. Be sure to leave lots of extra tubing so that it doesn’t disconnect when you pull the fridge out for cleaning. Now put the compression tube and ferrule (sleeve) that came with your installation kit and connect the tube to the valve. Now connect the other end to the fridge.
Need Professional Help?
 Yes, you can certainly manage all this DIY, but do you have the time to do it?
Calling in your trusty Holmdel, NJ means that you get to save time for something more important.
You also get peace of mind. If this job isn’t done right, you may be faced with a leak.
Installing the Ice Maker
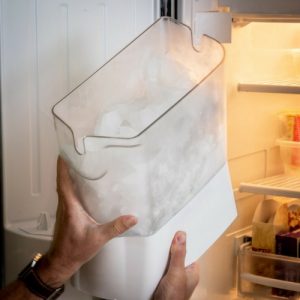 You’ll need a water supply line, so follow the same steps for water dispenser installation. Turn the ice maker to “on.” Be sure to discard the first few batches of ice you make.
If you are installing an ice maker to an existing fridge, connect the water line. Next, fill up the factory fill tube. Slide the tube into its spot inside your freezer.
Attach the wiring harness on the freezer wall. Hang the icemaker unit on the proper screws and then line up the tubing to the reservoir. Plug the fridge in, and you should be good to go.
Here is another tip. When your new fridge is delivered, don’t plug it in for 24 hours. It has to remain still so that the Freon can settle.


